

Food · Market · Multi-branch
Restoora. One platform to run your entire business.
Restoora Food handles hospitality service — tables, kitchen, delivery. Restoora Market handles retail — barcodes, weighing, self-checkout. They share one catalog, one stock ledger, one set of reports.
Payments, fiscal devices and delivery partners are enabled per country. Everything else runs in demo mode until your provider is connected.
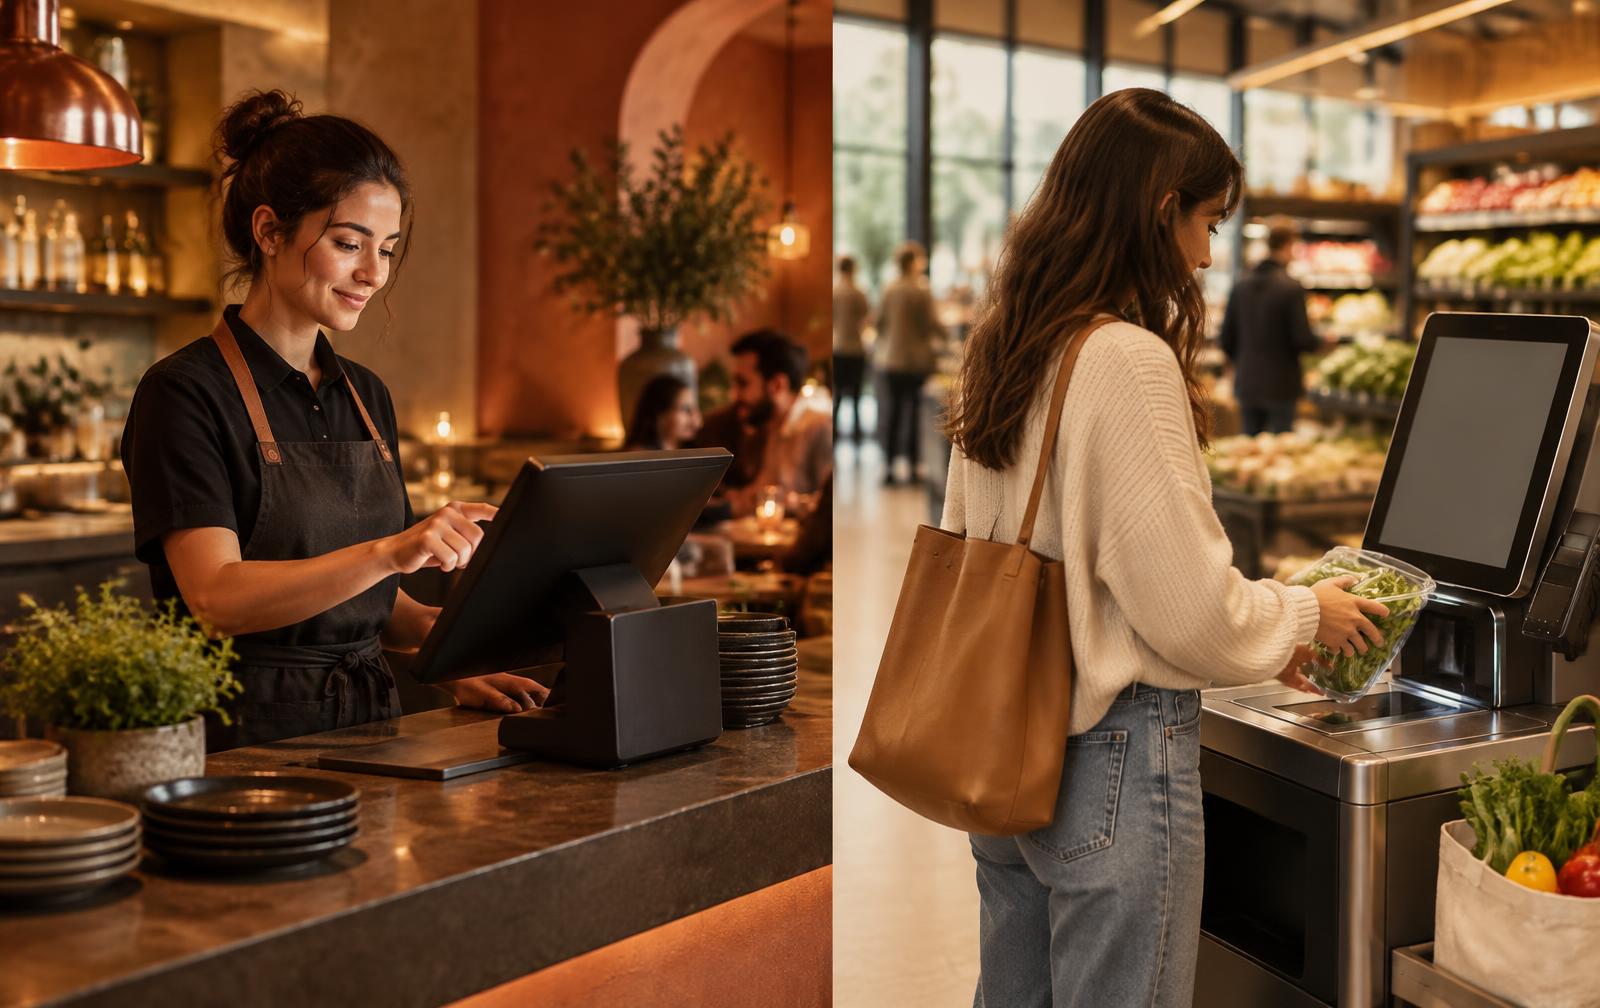
Which product do you need?
Two products, one operating platform
Enable one, or both in the same branch. A bakery can serve a cappuccino and sell packaged flour in a single basket.
Restoora Food
For restaurants, cafés, bars, bakeries, food trucks and quick service.
- Touchscreen POS with courses, split bills and tips
- Floor plans, table status and waiter handhelds
- Kitchen Display with stations, routing and priorities
- Reservations, QR ordering, kiosk and own delivery
Restoora Market
For grocery, convenience stores and supermarkets.
- Fast barcode scanning and large catalogs
- Sell by unit, weight or volume with scale interfaces
- Shelf labels, promotions, batches and expiry alerts
- Self-checkout with picture categories for loose goods
One stock ledger
Recipes, ingredients and retail items move through the same event-based ledger.
Pay Connect
Bring your own merchant account. Cash, terminal and online recorded the same way.
7 languages
English, Italian, Spanish, French, German, Dutch and Arabic with full right-to-left.
Branch-aware roles
Owners compare branches. Staff only see what their role permits.
How it fits together
From first sign-up to a live branch
Setup is a guided wizard, not a blank screen. You can add branches at any time.
- Step 1
Create your organization
Legal entity, country, currency, time zone and default language.
- Step 2
Add your first branch
Business type, service modes and the modules that branch needs.
- Step 3
Load your menu or catalog
Create items or import a CSV with row-by-row validation.
- Step 4
Set tax profiles
Rates per product group, per country template.
- Step 5
Invite your team
Roles, branch scope and each person's own interface language.
- Step 6
Run a test order
Demo payment end to end before you flip the branch live.
Not sure whether you need Food, Market, or both?
Build a configuration in the pricing tool — country, branches, registers, modules and hardware — and we come back with a written quote.